Creating entries in client accounts
Back to family viewing overview
In order to be able to create certain types of entries in client accounts, you will need to have professional access to both parents in a family. Entries created by practitioners are marked as such and have the same level of documentation as those created by parents.
In this tutorial:

Parenting Schedules
To document parenting schedules for a client, you must have been granted access by your client and their co-parent.
- Enter client view mode and select either parent in the family.
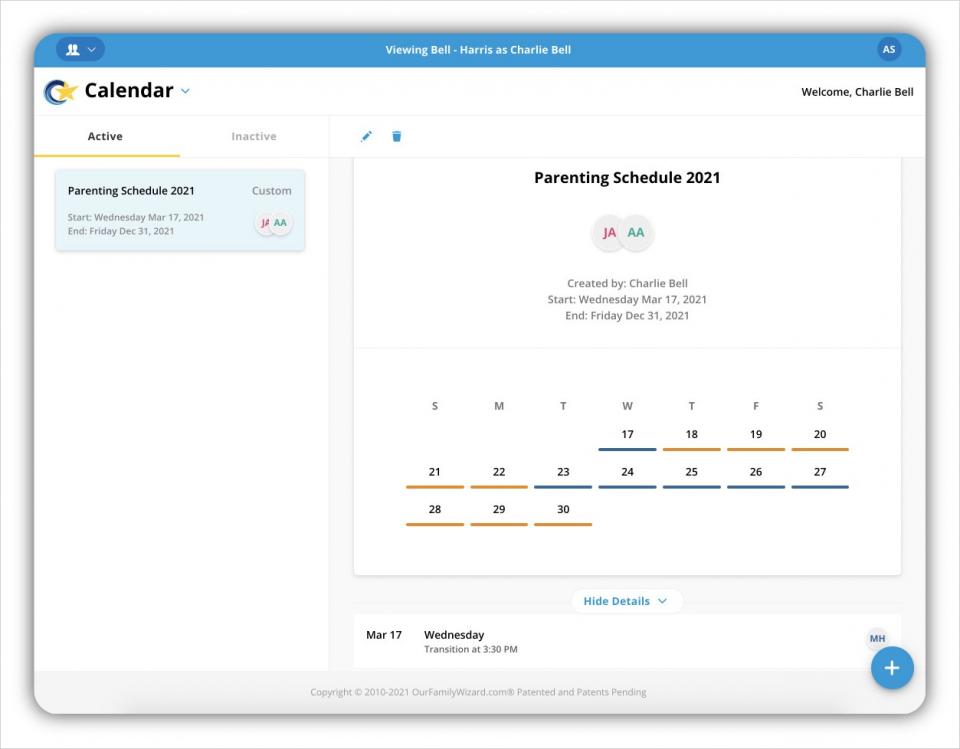
- Navigate to the Calendar and click Parenting Schedule from the menu on the left of the calendar.
- The Parenting Schedule library will open, showing you all current and past schedules used by the family.
- Click the Add Item icon (blue circle with a + symbol) in the bottom right corner to create a new schedule.
- Enter the parenting schedule details. For a complete walkthrough for creating parenting schedules, check out our parenting schedule tutorial for parents.
- Click Save when finished. The parenting schedule will then be visible to both parents within their accounts. They will also each receive a System Message to let them know that this schedule has been created.
Events

- Enter client view mode and select either parent in the family.
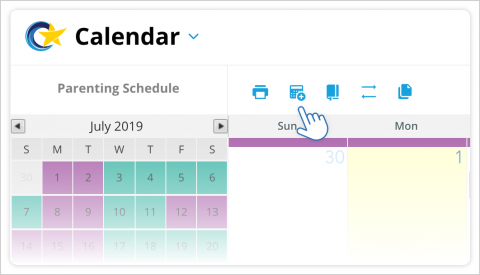
- Navigate to the Calendar and click the New Event icon in the top bar.
- In the Create Event window, supply all required information and any optional details about the event. For a complete walkthrough for creating events, check out our tutorials for one-time events and repeating eventsfor parents.
Schedule Change Requests
The schedule change request tool allows practitioners and parents to create documented requests for one-time changes to the parenting schedule. If requests are approved, the parenting schedule is updated automatically to reflect the one-time change.
- Enter client view mode and select either parent in the family.
- Navigate to the Calendar and click the New Request icon in the top bar.
- Enter the details of the change, including a short reason for the request. Read the parent walkthrough for a complete explanation for each component of a Schedule Change request.
- Once complete, click Submit Request in the upper left corner.
Once submitted, both parents will receive notifications that they have a new schedule change request awaiting their response. Both parents must approve the request in order for the change to be made to the parenting schedule.
Journal Entries
When signed into your account through the website, you are able to create new Moments within family accounts. Moments are notes you can share with parents that allow you to tag locations.
To create a new Moment,
- Enter client view mode and select either parent in the family.
- Navigate to the Journal and click the plus sign icon in the lower right corner.
- Provide a date and type your note. You also have the option of tagging locations by clicking the location pin in the lower left corner of the New Moment pop-up.
- Select your Sharing settings. By default, the moment will be shared with the parent whose account you are viewing. Click Sharing to update this setting.
- Click Save in the top right corner.
Related help topics